Getting started

Start using FretTrack

FretTrack keeps repair-shop work in one place: customers, jobs, instruments, photos, damage maps, work logs, parts, scheduling, and customer-facing documents.

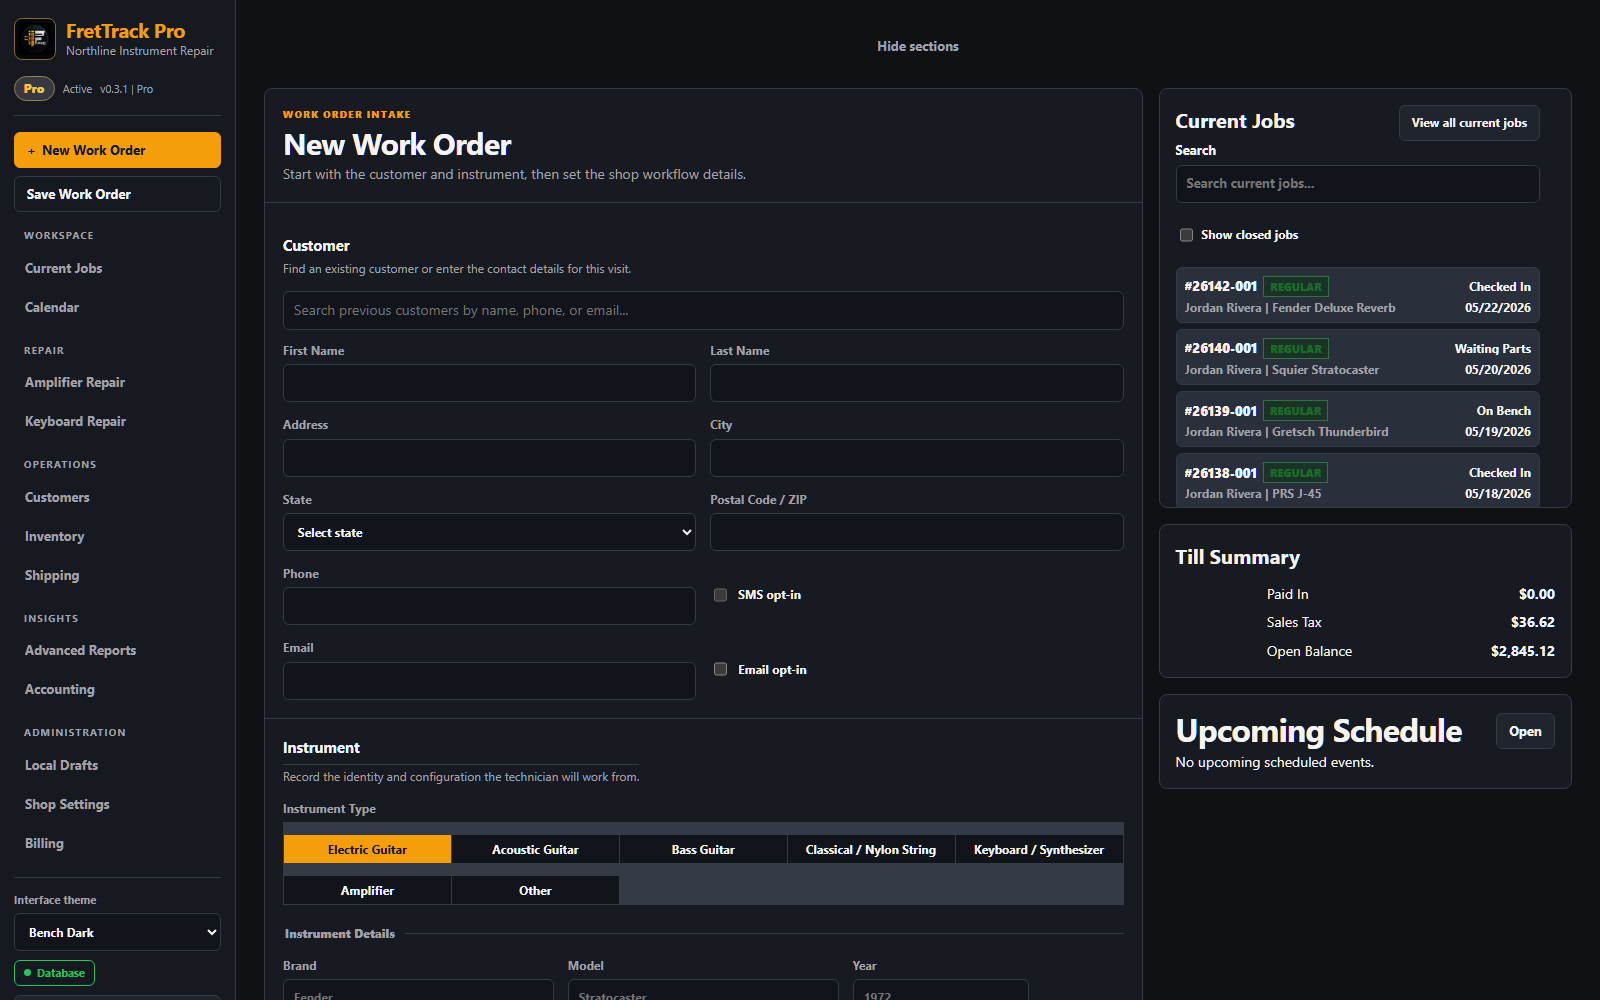
Basic workflow

  1. Sign in with the email address approved for beta access.
  2. Select or create your shop when prompted.
  3. Create or select a customer.
  4. Create a new job and enter the instrument details.
  5. Record the requested work, priority, promise date, and job source.
  6. Add photos and damage-map notes before work begins.
  7. Add work logs, parts, services, and schedule events as the repair moves forward.
  8. Review customer-facing paperwork before pickup or delivery.

What to enter first

  • Customer name and at least one contact method.
  • Instrument type, brand, model, serial number, color, finish, and orientation when known.
  • Requested work in plain repair-shop language.
  • Photos of the front, back, headstock, serial number, and visible damage.
  • Work logs whenever diagnosis, approval, parts, or status changes occur.

Daily shop use

Use the dashboard and job lists to see active work. Use scheduling for intake, pickup, due dates, follow-ups, and shop blocks. Use inventory when a part should affect stock counts, purchase history, barcode labels, or job cost records.

Good habits

  • Search for an existing customer before creating a new one.
  • Take intake photos before repair work starts.
  • Use work logs for approvals, findings, and completion notes.
  • Use inventory parts when stock should be adjusted.
  • Keep customer notes professional and repair-related.

Device note

FretTrack works best in current desktop and mobile browsers. Older iPads can be useful for light shop-floor workflows, but unsupported devices may no longer receive security patches and should not be the main device for owner or billing work.